Visual Studio Code で PHP を 使うための初期設定をしてみた!!!
はじめに
ずっと愛用していた「Brackets」のサポートが9月1日に終了してしまうみたいです(´;ω;`)
Brackets を開いたときに「Visual Studio Code」に移行してね、と書いていたのでとってもシンプルで使いやすかったBrackets ともお別れします!!!
とりあえずPHPが使えればいいので、ささっさっとやってみました。
Visual Studio Codeのインストール
Windows版でやっていきます!!
Visual Studio Code ダウンロード
設定
インストールできたら開いて
左側の上から5番目の四角のやつで拡張機能をインストールしていきます!
日本語にするのは
「Japanese Language Pack for Visual」
ってやつです!
次に
フォルダーを開くで使用したいフォルダを開きます。
次に、ファイル(F)→ユーザ設定→設定 で 「settings.json]を編集します。

settings.jsonを
{
    "liveServer.settings.donotShowInfoMsg": true,
    "liveServer.settings.proxy": {
        "enable": true,
        "baseUri": "/",
        "proxyUri": "http://localhost/使用したいフォルダ名/"
},
    "json.schemas": [

    ],
    "editor.fontLigatures": null
}
と記述します!
デバック
PHPを指定すると、
launch.json
ができます。
{
// IntelliSense を使用して利用可能な属性を学べます。
// 既存の属性の説明をホバーして表示します。
// 詳細情報は次を確認してください: https://go.microsoft.com/fwlink/?linkid=830387
"version": "0.2.0",
"configurations": [
{
"name": "Listen for XDebug",
"type": "php",
"request": "launch",
"port": 9000
},
{
"name": "Launch currently open script",
"type": "php",
"request": "launch",
"program": "${file}",
"cwd": "${fileDirname}",
"port": 9000
}
]
}
これでデバックもできます!
動かす!
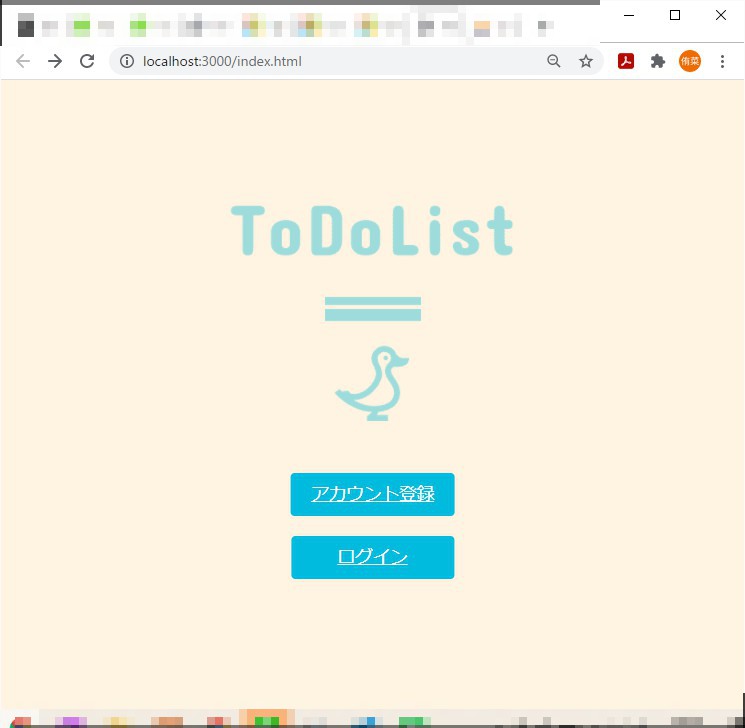
最後にindex.htmlなどの右上にある青いマークを押して
こんな感じでHTMLがでて・・・
最後に
ここもではできたのですがMySQLにどうやってつなげるのかがまだわかってないので調べ倒そうと思います。。。
「Brackets」今までありがとう!
Author And Source
この問題について(Visual Studio Code で PHP を 使うための初期設定をしてみた!!!), 我々は、より多くの情報をここで見つけました https://qiita.com/Mark-NK/items/2e77922297d9cea25306著者帰属:元の著者の情報は、元のURLに含まれています。著作権は原作者に属する。
Content is automatically searched and collected through network algorithms . If there is a violation . Please contact us . We will adjust (correct author information ,or delete content ) as soon as possible .


