Ubuntu1804のZabbixServer3.4に監視ノードを追加する。
こちらの記事のつづきです。
Ubuntu1804(bionic)にZabbixをインストール。
ノードにエージェントを入れて監視してみる。
・リポジトリを追加。
wget http://repo.zabbix.com/zabbix/3.4/ubuntu/pool/main/z/zabbix-release/zabbix-release_3.4-1+bionic_all.deb

dpkg -i zabbix-release_3.4-1+bionic_all.deb
# apt search zabbix-agent

zabbix-agent/unknown 1:3.4.11-1+bionic amd64
  Zabbix network monitoring solution - agent
新しいものがaptで見つかるようになりました。
・エージェントインストール
apt install zabbix-agent
設定してみる。
設定ファイルは以下。
vim /etc/zabbix/zabbix_agentd.conf
サーバのIPを指定します。
97行目:Server=10.71.233.55
138行目:ServerActive=10.71.233.55
ローカルホストの名前を記載。
149行目:Hostname=zabclient-1
サーバ側設定
Configration -> hosts
「Create Host」を選択
「Hostname」にはホスト名を。
「Visible name」に管理画面用の名前をいれました。同じでいいでしょ。

テンプレートの設定
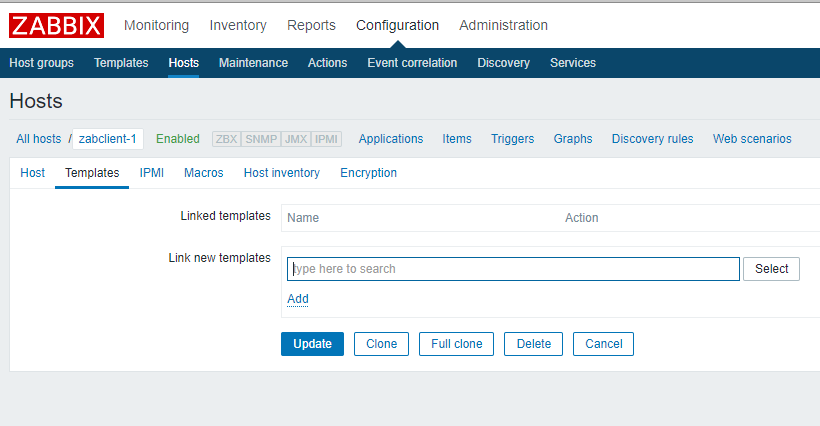
Selectボタンを押す。
Template OS Linuxを選択。


Addをクリック。

Updateを押すと追加されました。
エラーが無ければちゃんとAvailabilityが光ってくれるみたいです。

テンプレート(監視項目)はデフォルトですが、自分に合わせて作ってみたいと思います。
Author And Source
この問題について(Ubuntu1804のZabbixServer3.4に監視ノードを追加する。), 我々は、より多くの情報をここで見つけました https://qiita.com/ajitama/items/1a13f46231b2d104af58著者帰属:元の著者の情報は、元のURLに含まれています。著作権は原作者に属する。
Content is automatically searched and collected through network algorithms . If there is a violation . Please contact us . We will adjust (correct author information ,or delete content ) as soon as possible .